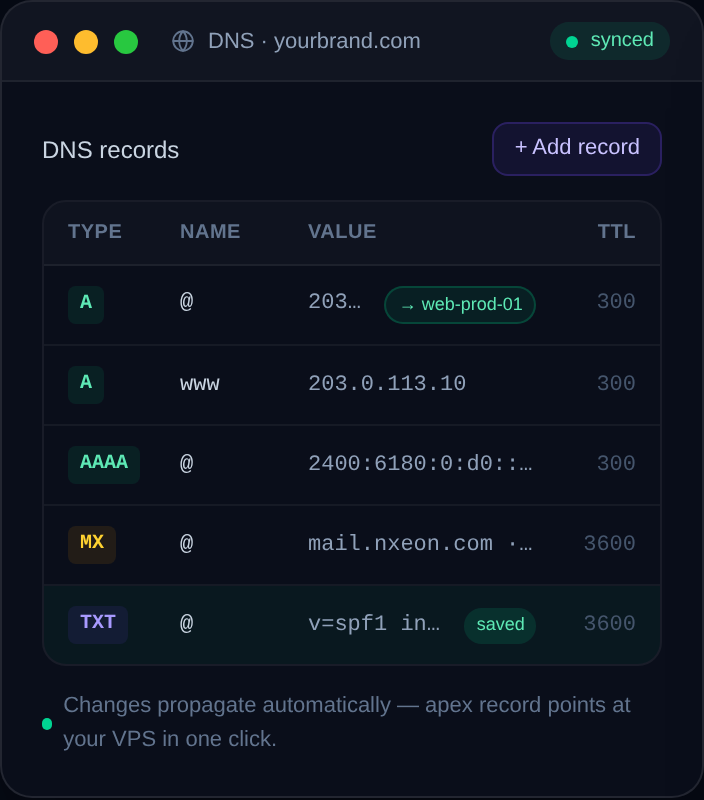
Your domain doesn't have to live with Nxeon to get professional email on it. Here's exactly which DNS records to add — MX, SPF, DKIM, DMARC — wherever it's registered.
A professional address like you@yourbusiness.com builds instant trust — but here's the part people miss: your domain doesn't have to be registered with your email provider to use it. Email routing is controlled entirely by DNS records, and DNS can be pointed from any registrar to any mail host. So whether your domain lives at Namecheap, GoDaddy, Cloudflare or anywhere else, you can run Nxeon business email on it by adding a handful of records. Here's exactly how.
The key idea: DNS decides where mail goes
Two things about a domain are separate and often confused:
- Where the domain is registered — the registrar you pay to own the name.
- Where the domain's DNS is hosted — whoever answers DNS queries for it (often the registrar, sometimes a separate provider like Cloudflare).
Email delivery is governed by DNS records, not by the registrar. When someone emails you, their server looks up your domain's MX records and delivers to whatever host those point at. Change the MX records to point at your mail provider and mail flows there — no domain transfer required. This is why "registered anywhere" works.
Step 1: Find where your DNS is managed
Before adding records, know where to add them. Your domain's name servers (NS records) determine who controls its DNS. If you never changed them, that's usually your registrar's DNS panel. If you set the domain up on Cloudflare or another DNS host, that's where records must go — editing them at the registrar will do nothing. A quick WHOIS or DNS lookup shows the current name servers if you're unsure.
Step 2: Add the MX records
MX (Mail Exchange) records tell the world which servers accept mail for your domain. In your DNS host's panel, add the MX records your provider specifies. They look like:
Type: MX   Name: @   Priority: 10   Value: mail.yourprovider.example.
Type: MX Name: @ Priority: 20 Value: mail2.yourprovider.example.- Name
@means the root domain (yourbusiness.com). - Priority — lower numbers are tried first; the second is a fallback.
- The value is a hostname, not an IP, and it must end where your provider tells you.
Remove any old MX records left over from a previous mail setup — stray MX records cause mail to split or vanish.
Step 3: Add SPF (who may send as you)
SPF is a TXT record listing the servers allowed to send mail for your domain. It stops spammers forging your address and keeps your legitimate mail out of spam:
Type: TXT Name: @ Value: "v=spf1 include:_spf.yourprovider.example ~all"Two rules that trip people up:
- You may have only one SPF record. If you already send from another service (a newsletter tool, say), merge both
include:entries into a single record rather than adding a second. ~allmeans "anything else is suspicious";-allis stricter ("reject anything else"). Start with~all.
Step 4: Add DKIM (a cryptographic signature)
DKIM signs your outgoing mail so receivers can confirm it wasn't forged or altered. Your provider generates a key and gives you a TXT record to publish at a selector subdomain:
Type: TXT Name: selector._domainkey Value: "v=DKIM1; k=rsa; p=MIGfMA0G..."Copy the record exactly as provided — the long key string is unforgiving of stray spaces or line breaks. Once published, receivers fetch the public key, verify the signature, and trust the message.
Step 5: Add DMARC (the policy that ties it together)
DMARC tells receiving servers what to do when a message fails SPF and DKIM, and where to send reports:
Type: TXT Name: _dmarc Value: "v=DMARC1; p=none; rua=mailto:dmarc@yourbusiness.com"p=none— monitor only. Start here so you can read reports without affecting delivery.p=quarantine— send failing mail to spam.p=reject— refuse failing mail outright, the strongest setting.
Launch at p=none, watch the reports for a week or two to confirm all your real mail passes, then tighten to quarantine and eventually reject.
Step 6: Wait, then verify
DNS changes propagate over the record's TTL — usually minutes, occasionally a couple of hours. Don't panic if mail doesn't flow instantly. When it's had time to settle, confirm the records took effect with a DNS lookup: check that your MX points at your provider and that your SPF, DKIM and DMARC TXT records are live. A free DNS lookup tool makes this a ten-second check.
Then send a test message both ways — to and from the new mailbox — and inspect the headers of a received message; you should see SPF and DKIM marked as passing.
Common mistakes to avoid
- Editing DNS at the registrar when the domain uses external name servers. Records go where the NS records point.
- Two SPF records. Only one is allowed — merge them.
- Leftover MX records from an old provider, causing split delivery.
- Impatience. Give propagation time before assuming something's broken.
- A mangled DKIM key from a copy-paste that dropped characters.
Bring your domain, keep your registrar
You don't have to move your domain to get professional email on it. Point the DNS, add five kinds of record, and you@yourbusiness.com is live — while your domain stays exactly where it is. Nxeon business email includes a guided DNS setup that shows you the precise records for your domain, so you're not guessing. Learn more at /business-email, and use our free DNS lookup at /tools/dns-lookup to verify every record along the way.
Register a domain
Deploy in seconds, not weekends
Nxeon Team · Nxeon editorial
★★★★★ Straight-talking guides from the team that runs the servers.