Switching hosts sounds painful — it isn't. A guided wizard copies your files, code and databases from your old VPS with live progress, for free. Here's the whole process.
The thing that keeps people on a slow or overpriced host isn't loyalty — it's the fear of moving. Migrations have a reputation for downtime, lost data and a lost weekend. Nxeon's free guided migration is built to erase that fear: a wizard connects to your old server, copies your files, codebase and databases with live progress, and walks you through the rest with a checklist. No cost, no rushed cut-over, and you decide exactly what moves. Here's the whole process.
The idea: low-risk by design, not by luck
A good migration is a copy, not a move. Your old server stays untouched and running the entire time; Nxeon reads from it and writes a copy onto your new VPS. Nothing is deleted at the source, so if anything looks off you simply keep pointing traffic at the old host until you're happy. You only "switch" at the very end, by updating DNS — and even that is reversible.
That's the core safety principle: because it's a copy with the original preserved, there's no moment where your data is only in one uncertain place.
Step 1: Deploy your new Nxeon VPS
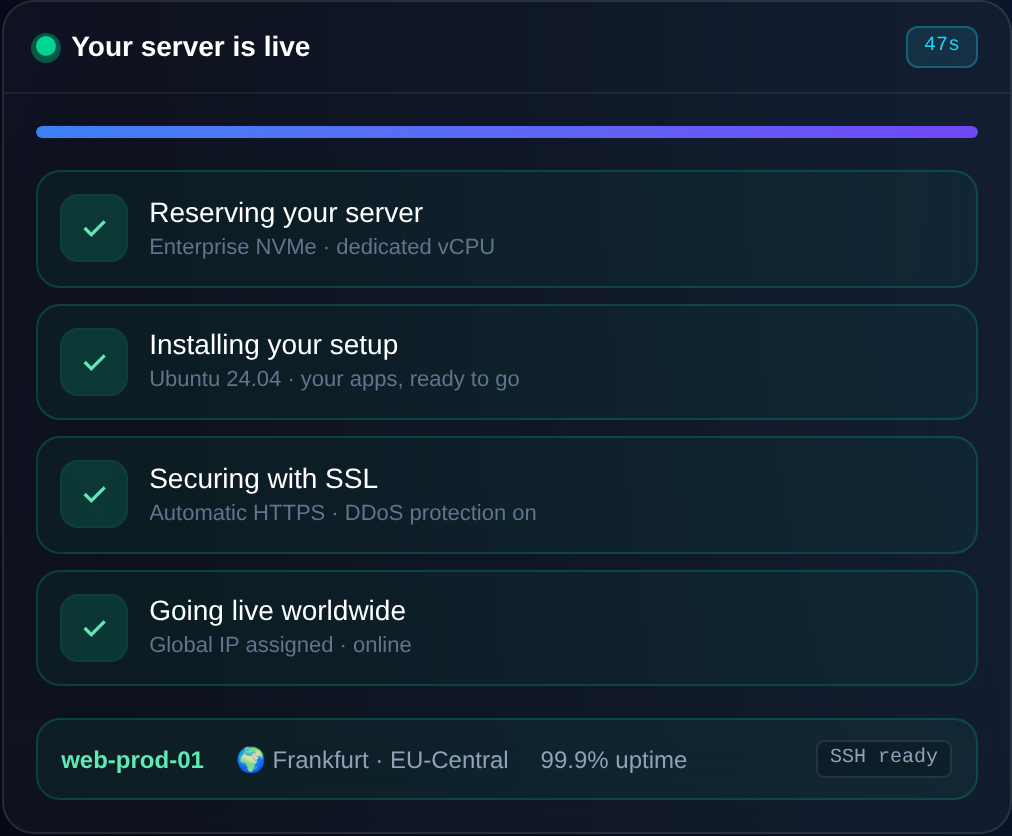
Start by creating the server your project will live on. On Nxeon a VPS is ready in about a minute with a dedicated IP and NVMe storage. Pick a size that comfortably fits your current usage — you can resize later, so there's no need to over-buy up front.
Step 2: Open the migration wizard
From your dashboard, start the migration flow. You'll point it at your existing server by providing its address and temporary access credentials. Those credentials are used transiently — only for the duration of the copy — to read the data that needs to come across. Nothing is stored long-term.
Step 3: Choose what to move
You're in control of the scope. The wizard lets you select:
- Files and codebase — your web root, application code, uploads and assets, copied over faithfully.
- Databases — MySQL/MariaDB and PostgreSQL data, dumped from the old server and restored on the new one.
- The rest, with a guided checklist — things that need a human decision (web server config, cron jobs, environment variables, SSL) are laid out as a checklist so nothing is forgotten.
Move everything, or just the parts you want and rebuild the rest cleanly. It's your call.
Step 4: Watch the copy run — live
Once you kick it off, you get live progress rather than a black box. You can see files transferring and databases being copied in real time, so you know precisely where things stand. Because the source is only being read, your old site stays online and serving visitors throughout — there's no downtime to prepare for during the copy itself.
Step 5: Verify on the new server
Before you touch DNS, check the copy on its new home. Your Nxeon VPS has its own IP, so you can point your own machine at it (via a hosts-file entry or by browsing the IP directly) and confirm the site loads, the database is intact, and the app behaves. This is the "measure twice" step — take your time, because the old server is still handling real traffic.
Step 6: Point your DNS
When you're satisfied, make the switch by updating your domain's A record (and AAAA, if you use IPv6) to your new VPS's IP. As the change propagates, visitors start landing on Nxeon instead of the old host. Because DNS caches for the length of the TTL, lowering your TTL a day beforehand makes the cut-over quick and clean. A DNS lookup confirms when the new IP is live.
Step 7: Add SSL and finish the checklist
On the new server, issue HTTPS — with full root you can run Certbot for a free, auto-renewing Let's Encrypt certificate, or pick a control-panel image that handles it for you. Then work down the remaining checklist items: cron jobs, background workers, environment variables and any service-specific config. When the checklist is clear, you're fully moved.
Step 8: Decommission the old host (when you're ready)
There's no rush. Leave the old server running for a few days as a safety net until you're confident everything's stable on Nxeon. Once you're sure, cancel it. Because you never deleted anything at the source, you had a fallback the entire time.
Why it's genuinely free
Migration is free because getting you onto the platform smoothly is the point — there's no separate "migration fee" and no catch. If you'd rather not do it yourself at all, the team can handle the move for you. Either way, the guiding principles are the same: your data is copied not moved, your old server stays live until the end, you choose the scope, and credentials are used only transiently.
A quick pre-flight checklist
- Deploy the new VPS and note its IP.
- Lower your domain's DNS TTL a day ahead for a fast cut-over.
- Run the wizard; select files, databases and checklist items.
- Watch the live copy complete with the old site still serving.
- Verify the site and data on the new IP before switching.
- Update DNS, add SSL, finish the checklist.
- Keep the old host as a fallback, then cancel when confident.
Ready to switch?
A migration doesn't have to cost you money or a weekend of nerves. Start the free guided move at /migrate, or deploy your new server first at /vps and verify with our DNS tools at /tools/dns-lookup. Your project can be running on faster, honestly priced infrastructure by the end of the day — with your old host safely intact until you say otherwise.
Cloud VPS hosting
Deploy in seconds, not weekends
Nxeon Team · Nxeon editorial
★★★★★ Straight-talking guides from the team that runs the servers.