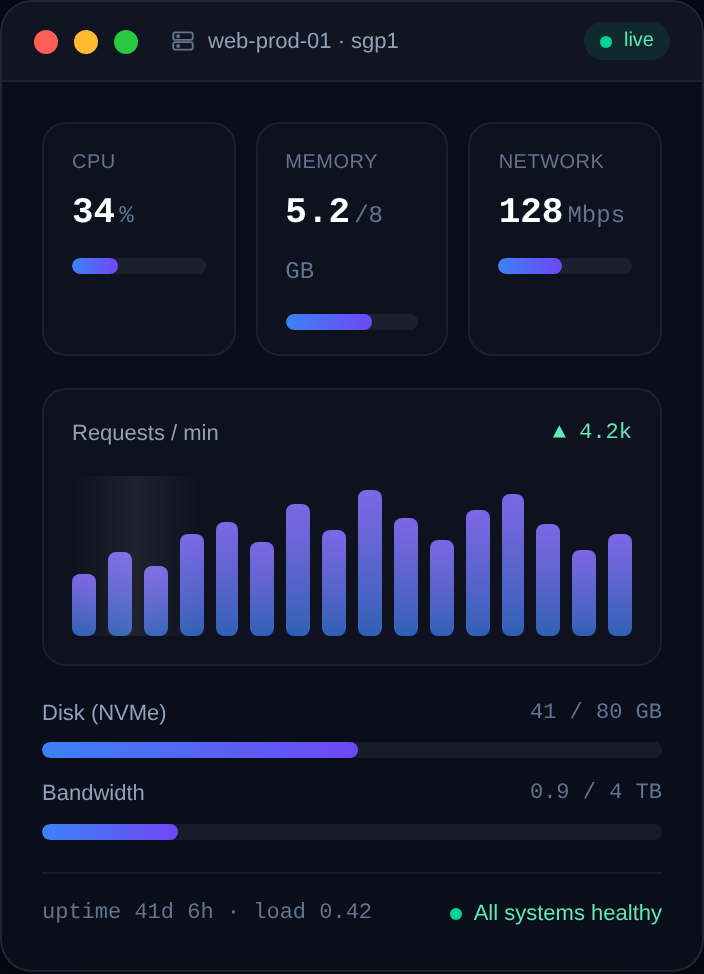
Host both a staging and production environment on a single VPS: separate directories, ports, subdomains, databases, and Nginx server blocks.
A staging environment lets you test changes on real infrastructure before they hit users. You do not need a second server for it — one VPS can cleanly run both staging and production, kept apart by directories, ports, subdomains, and separate databases. This guide shows how to do it without the two environments stepping on each other.
The separation principle
Staging and production must not share state. Keep everything parallel but isolated:
- Code:
/home/youruser/apps/myapp-prodand/home/youruser/apps/myapp-staging. - Ports: production on
127.0.0.1:3000, staging on127.0.0.1:3001. - Domains:
example.comandstaging.example.com. - Databases:
appdb_prodandappdb_staging— never share one. - Services:
myapp-prod.serviceandmyapp-staging.service.
The golden rule: staging can be wiped and rebuilt at any time, and doing so must never touch production data.
Separate databases
Create two databases so staging can be reset freely. Following our PostgreSQL guide:
CREATE DATABASE appdb_prod OWNER appuser;
CREATE DATABASE appdb_staging OWNER appuser;
Each environment's .env points at its own database. The same idea applies with MySQL.
Run each app on its own port
Give each environment its own process and port. With systemd, create two units that differ only in directory, port, and environment file — see creating a systemd service for your app. For example, production runs on port 3000 and staging on 3001, each loading its own .env:
# myapp-staging.service (excerpt)
WorkingDirectory=/home/youruser/apps/myapp-staging
EnvironmentFile=/home/youruser/apps/myapp-staging/.env
Environment=PORT=3001
If you use PM2, name them distinctly: pm2 start app.js --name myapp-prod and --name myapp-staging, as in our PM2 guide.
Two Nginx server blocks
Route each subdomain to its port. Production, /etc/nginx/sites-available/example.com:
server {
    listen 80;
    server_name example.com;
    location / { proxy_pass http://127.0.0.1:3000; include proxy_params; }
}
Staging, /etc/nginx/sites-available/staging.example.com:
server {
    listen 80;
    server_name staging.example.com;
    location / { proxy_pass http://127.0.0.1:3001; include proxy_params; }
}
Enable both and reload:
sudo ln -s /etc/nginx/sites-available/example.com /etc/nginx/sites-enabled/
sudo ln -s /etc/nginx/sites-available/staging.example.com /etc/nginx/sites-enabled/
sudo nginx -t && sudo systemctl reload nginx
The pattern is the Nginx reverse proxy applied twice.
Protect staging from the public and search engines
Staging should not be indexed or freely accessible. Add HTTP basic auth to the staging server block:
sudo apt install apache2-utils -y
sudo htpasswd -c /etc/nginx/.htpasswd staginguser
Then inside the staging location:
        auth_basic "Staging";
        auth_basic_user_file /etc/nginx/.htpasswd;
This keeps casual visitors and search crawlers out. Give both subdomains HTTPS with Certbot.
A sane deploy flow
Deploy to staging first, test, then promote to production. With git-based deploys you can push a staging branch to the staging repo and main to production, each with its own hook. Only promote to production once staging looks right.
Watch your resources
Two environments share the VPS's RAM and CPU, so size accordingly — staging is usually lighter, but a heavy build or test run can compete with production. Monitor with htop and consider capping staging's resources with systemd (MemoryMax=). If they routinely contend, that is your signal to size up the plan.
Promote from staging to production cleanly
The safest release flow treats production as a promotion of an already-tested staging build. With separate Git branches, push a feature to staging, verify it on staging.example.com, then fast-forward main and deploy. Because both environments run the same code paths, what you saw on staging is what production gets.
Keep the two environments as identical as possible apart from data and scale — same OS packages, same Nginx and app versions, same environment variable names. Configuration drift between staging and production is the classic source of "but it worked on staging" surprises.
Back up before you promote
Take a production database snapshot immediately before every release so a bad deploy is a quick restore away:
pg_dump appdb_prod > ~/backups/prod-$(date +%F-%H%M).sqlAutomate the routine backups with a cron job, and take an extra manual one right before risky changes. A tested rollback path turns a scary deploy into a routine one.
FAQ
Should staging and production ever share a database?
No. A shared database means a staging bug or a test that deletes records can destroy production data. Always use separate databases, and ideally separate credentials.
How do I keep staging in sync with production data?
Periodically restore a production backup into the staging database — never point staging at the live database. Scrub or anonymise sensitive data when you copy it down.
Can I run more than two environments on one VPS?
Yes — add more ports, subdomains, and databases (dev, QA, demo). Just watch RAM and CPU; each environment adds load. Size the plan to the total.
Do I need two VPS instead?
Separate servers give the strongest isolation and let staging mirror production's exact resources. But for many teams, one adequately-sized VPS with clean separation is simpler and cheaper. Scale to two when isolation or capacity demands it.
Nxeon VPS hosting for developers gives you the root access and headroom to run staging and production side by side on fast NVMe — with easy plan upgrades and free migration help as you grow.
Cloud VPS hosting
Deploy in seconds, not weekends
Nxeon · Nxeon editorial
★★★★★ Straight-talking guides from the team that runs the servers.