





About (Reforged Eden) Kingfisher Z3
From Steam WorkshopUpdated for 1.5 and newest Reforged Eden version. The Kingfisher Z3 is a size class 1, T4 destroyer purpose-built for killing enemy NPC vessels and entering into end-game by enabling you to farm…
Updated for 1.5 and newest Reforged Eden version.
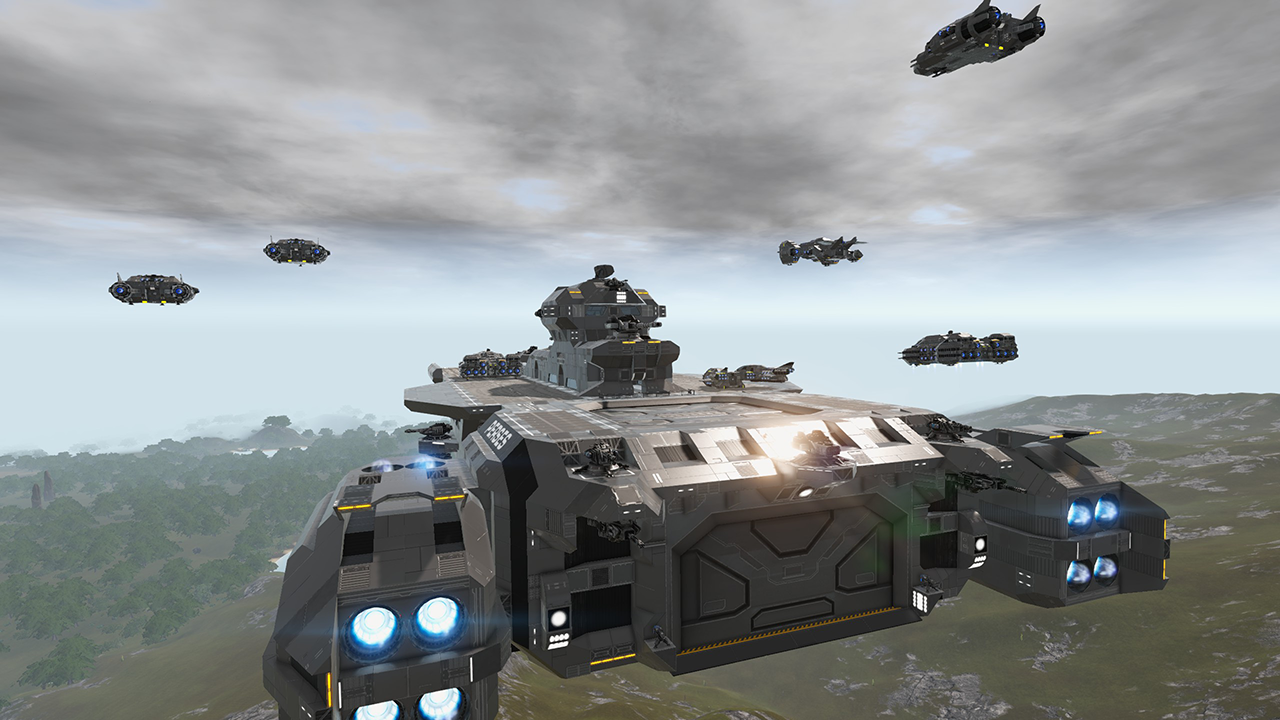
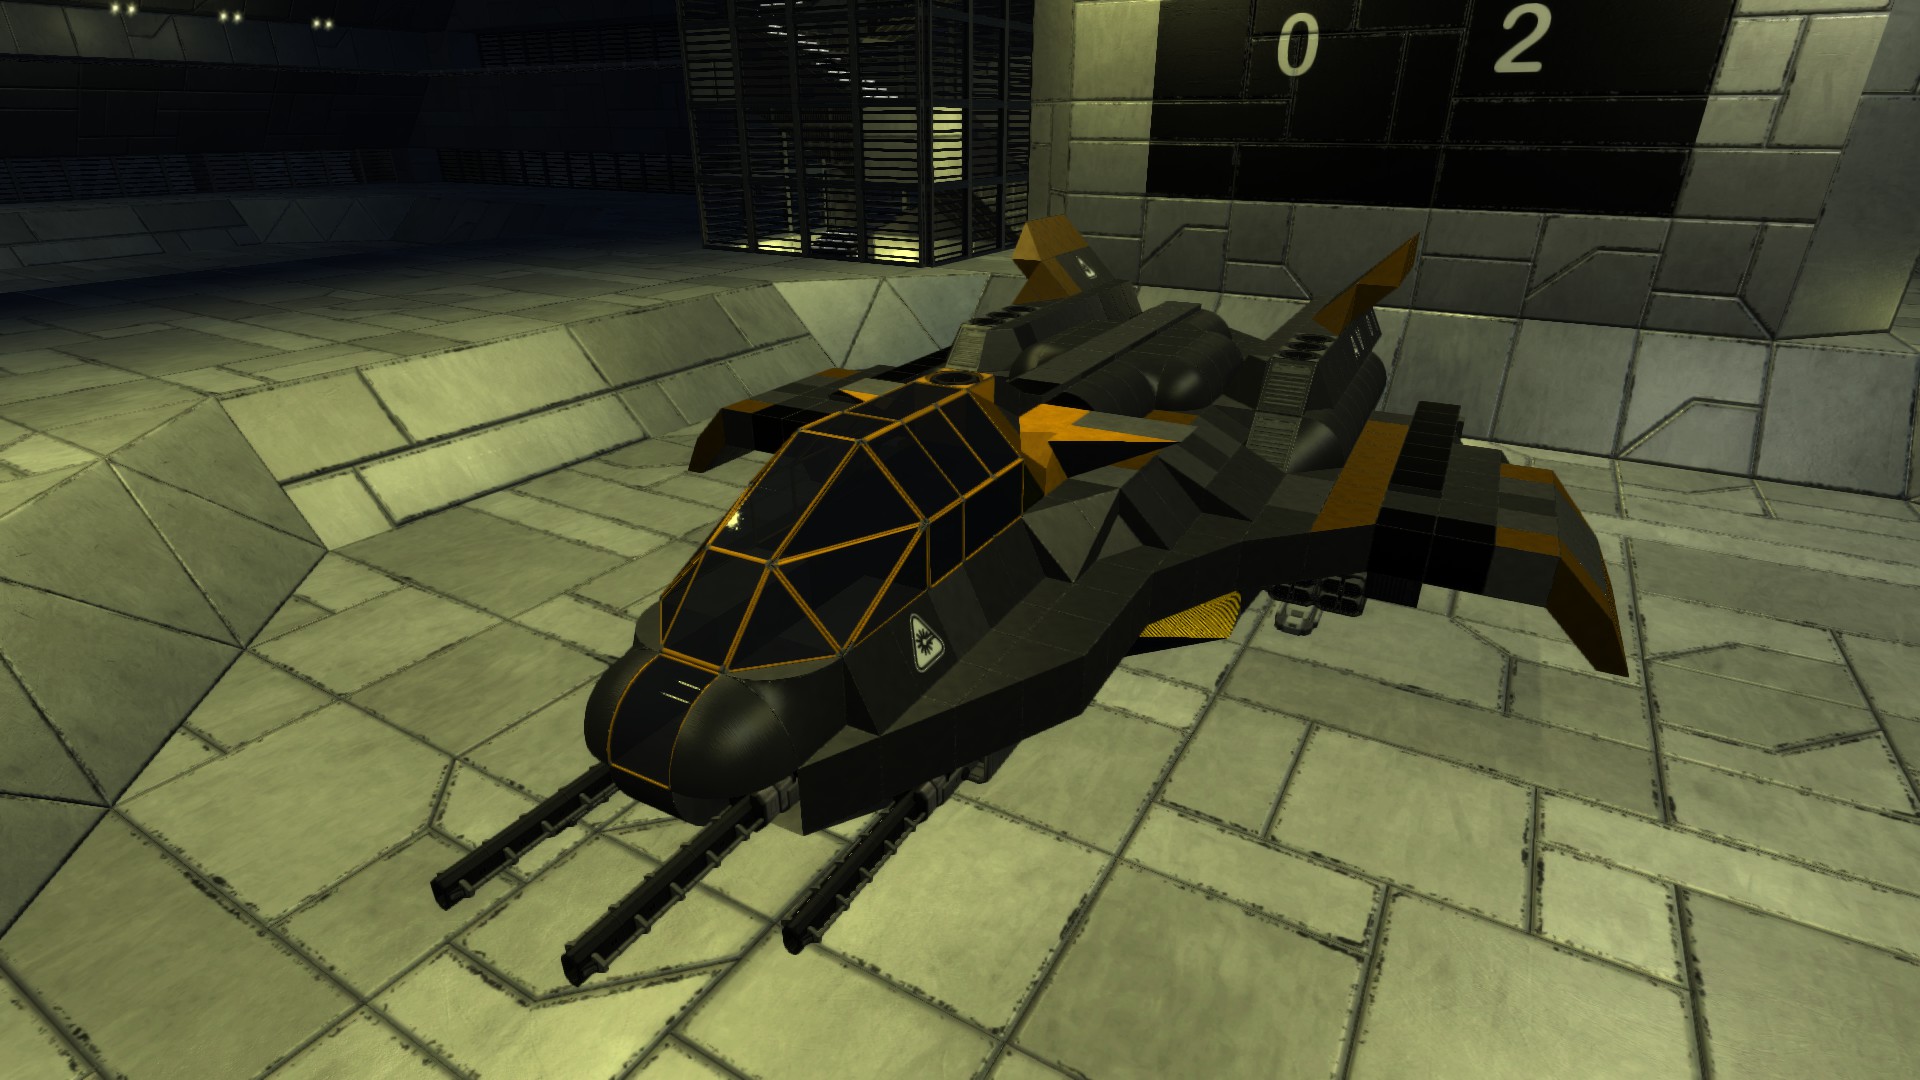
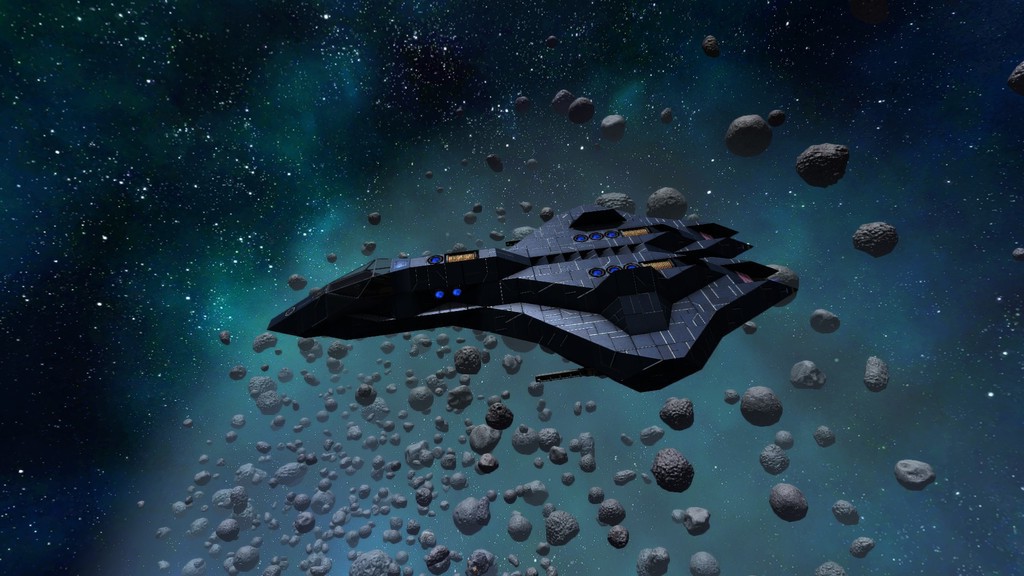
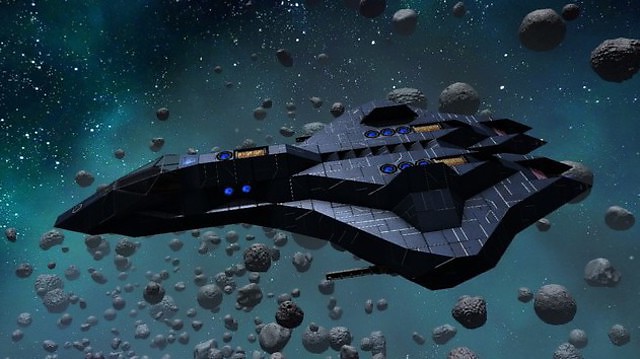
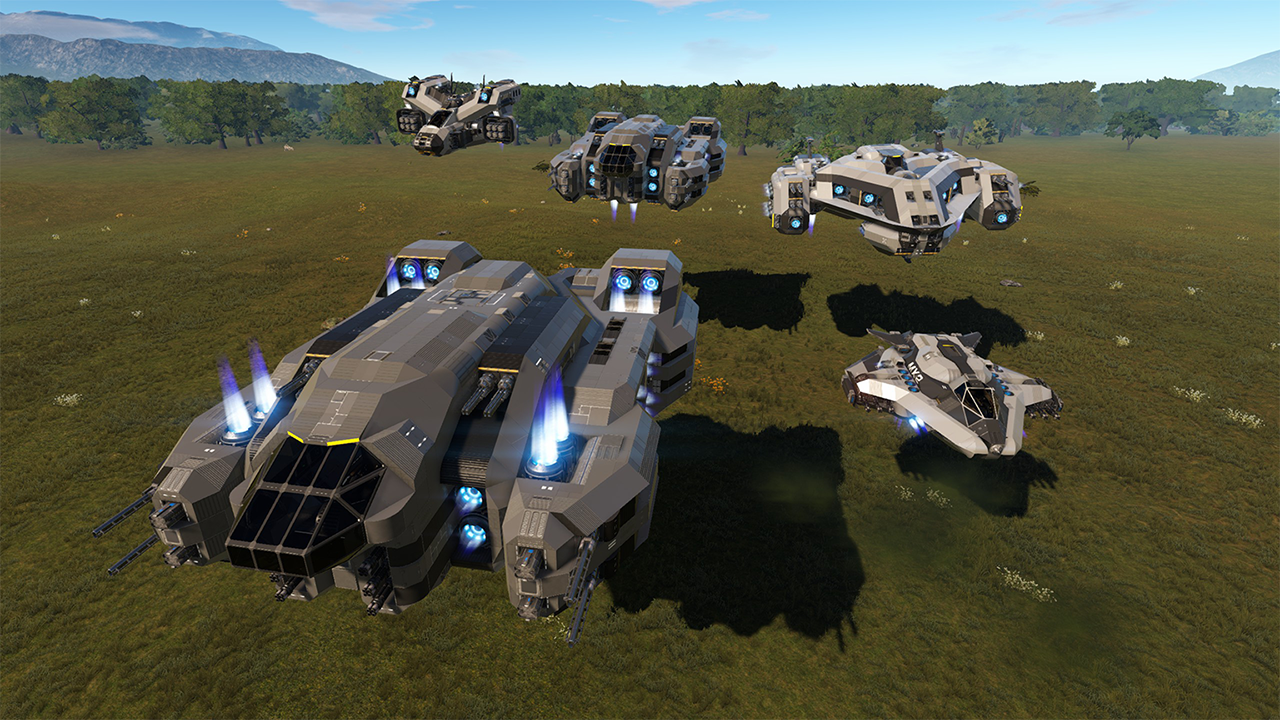
The Kingfisher Z3 is a size class 1, T4 destroyer purpose-built for killing enemy NPC vessels and entering into end-game by enabling you to farm Quantum CPU Extenders and Large Auxiliary CPUs with relative ease.
Its small size, high maneuverability, advanced shield, and 28 turrets allow this little bird to punch well above its weight. It has singlehandedly fought and defeated all Kriel and Legacy CVs, Corrupted Synkentrotis', and even the Tovera-Class Dreadnought.
The 2.1 million CPU requirement and minimalist design ensures that even should it be defeated, it will only be a minor setback. Its material cost also makes it an excellent backbone for a faction fleet given you can spawn in 3-4 of these for the cost of a large CV.
It is also easy to customize. For hunting drones, I added a Large Auxiliary CPU and slapped 5 autocannon turrets on the bottom to easily deal with Drone Swarmers and Interceptors without wasting missiles/plasma rounds. Swapping bottom plasma turrets for Zirax Plasma Turrets enables it to be an excellent shielded POI destroyer, etc. As you get end-game CPU extenders, you can add more dumbfire weapons and bottom turrets to continue increasing its firepower.
Features: -Armored front hull -100 m/s^2 acceleration in all directions -9 Plasma Turrets for tearing down enemy shields -18 Missile Turrets for precision-targeting enemy turrets and thrusters -1 Pulse Laser Cannon for when you need to easily deal with sentry turrets or other precision-firing requirements -Full infirmary and O2 station -Toilet & shower -Advanced Shield Generator -Teleporter -T4 CPU - no quantums needed! -2x 320k Ammo Controllers -1x 320k Container Controller -4G capable -Ventilated and oxygenated -6x Large Fuel Tanks -Multiplayer ready! No blocked thrusters - Long-range Radar
Stats: -Size class 1 -108 m/s^2 acceleration in all directions when empty -80+ m/s^2 acceleration in all directions when fully loaded with cargo and ammo -49/66/70 roll/pitch/yaw respectively
Strategy: Generally, the height of this ship makes moving up and down relative to the target the best option for dodging. Its high forward/back thruster also allows for an effective in-and-out style of combat that minimizes how much the enemy can fire back.
Don't fight without your shield.
The frame is mostly Carbon, but the front bits are Combat Steel. If you must take unshielded shots, try to take them on the front.
For most fights, you want to maintain a range of 950m to 1050m and orbit the target with up/down with minor side-to-side movements for dodging. The height of the Kingfisher makes orbiting using up/down to be the best way to avoid shots. The 950-1050m range ensures all of your turrets fire, minimizes how many enemy turrets fire, and gives you enough distance to make dodging most projectiles easy.
Legacy Infectors: Estimated Time-to-kill: 5 minutes or less If there is a nearby asteroid field, it is quite easy to get the Infector stuck making it easier to kill. If not, read on.
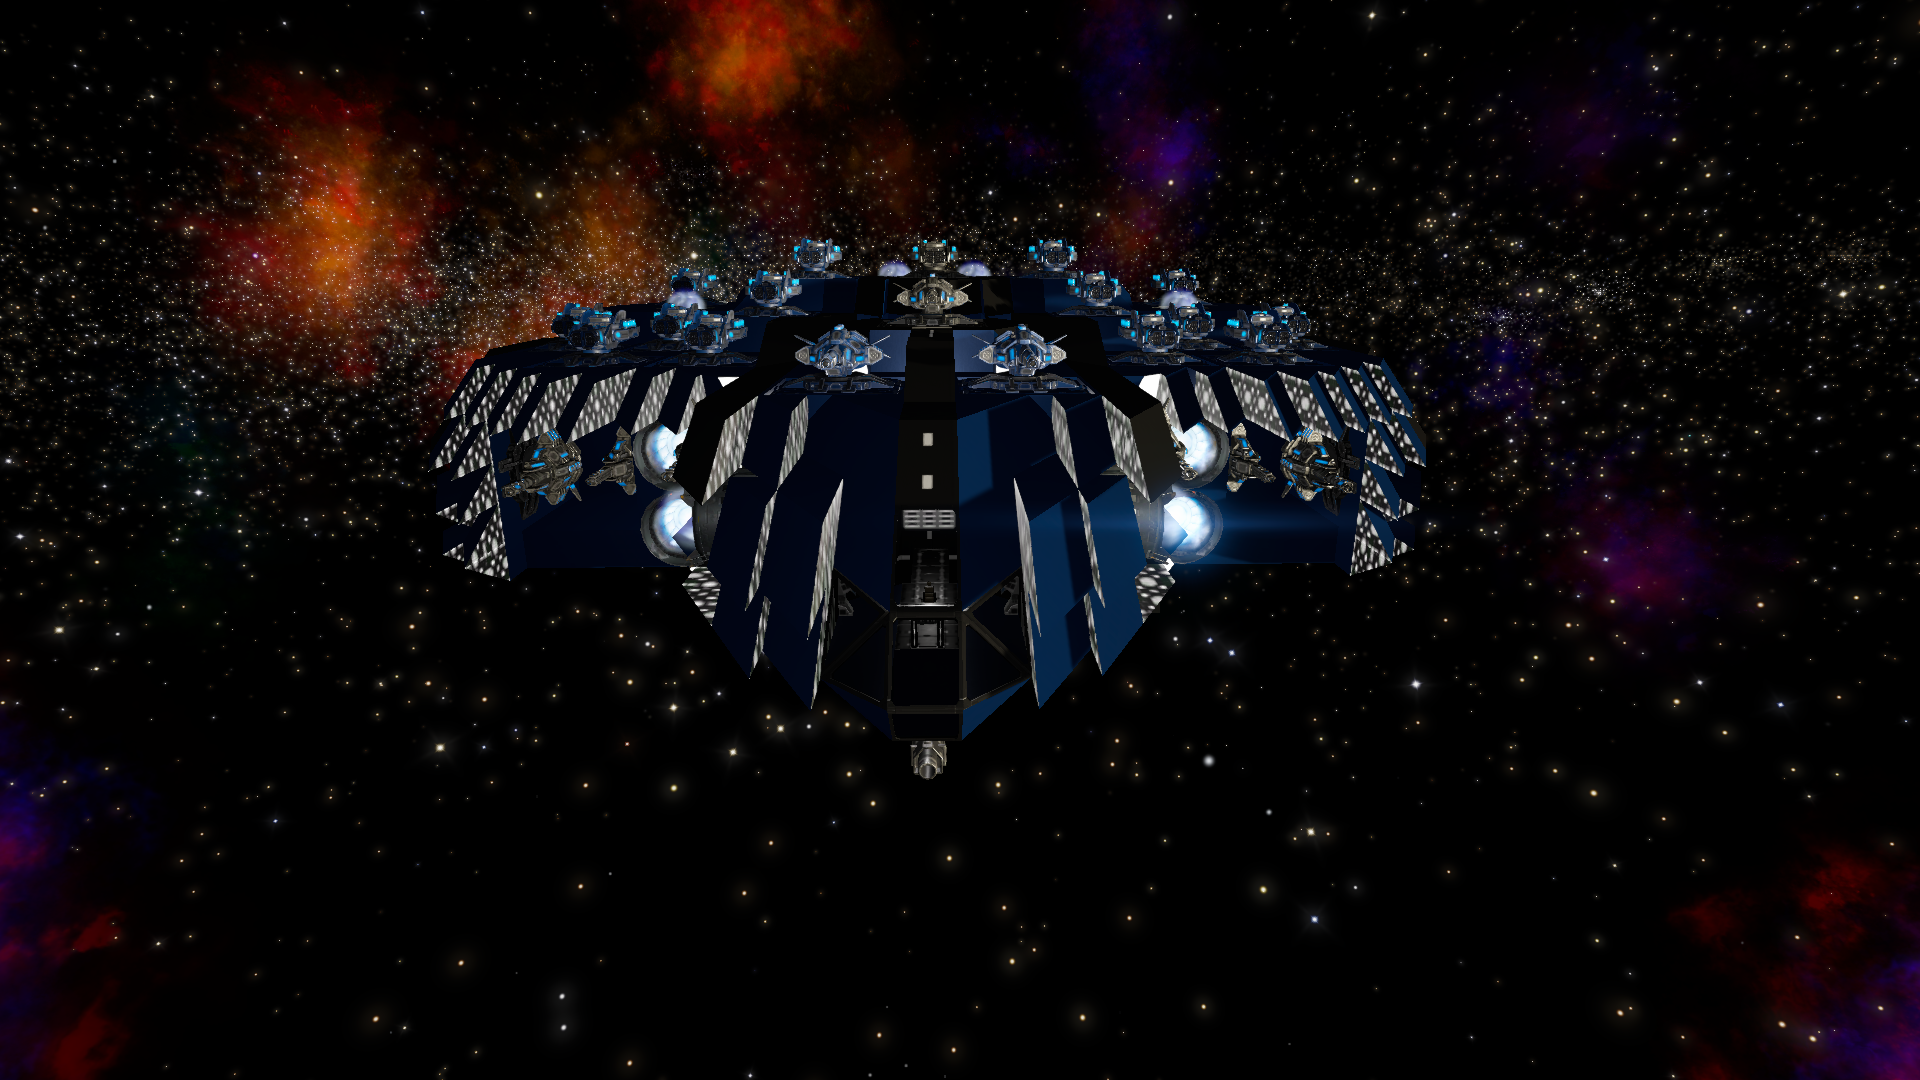
Set turrets to target thrusters. Get behind and underneath the Infector, boost right up into the bottom rear so you can see the forward thrusters. Your turrets will blow them up and stop the Infector from moving. Set turrets to target turrets and get to one of the sides - where the ring is - your turrets will kill the turrets dotted around the ring then begin firing into the center. The core is dead center with 2 Disruptor Cannons on it and that's what your turrets are targeting; let them do their work and use your laser cannon to help. You'll have this thing ready to loot shortly.
Legacy Decimators: Estimated Time-kill: 10 minutes or less If there is a nearby asteroid field, it is quite easy to get the Decimator stuck making it easier to kill. If not, read on.
Set turrets to target thrusters. Get under and behind. You know you have the right angle if you can see the 12 or 16 glowing lines from the legs oriented and spaced evenly. Boost right up under it from this angle - this is a major blindspot small ships like the Kingfisher can take advantage of; most of the Decimator's turrets won't be able to target you from this angle. The majority of the fight is getting into this position.
Next, blow off the main forward thrust - it should be obvious and right in front of you, basically. This will stop most forward movement. At this point, killing the turrets firing at you is a good idea.
Once the Decimator has stopped moving and shooting at you from this angle, blow a hole in the back if there isn't one already, head to the core and use an explosive charge to kill it. If you need to, turn off all turrets except the plasmas and let the plasmas take down the shields so you can blow the core. The core is in the middle of a group of pyramid blocks with a couple of glowing pipes coming out of it. The explosive charge can slip into the seam between pyramids and easily destroy the core.
Corrupted Synkentrotis: Estimated Time-to-kill: 15 minutes or less Set turrets to target the generators. Maintain a distance of 950m to 1050m and orbit the target using primarily up or down, and shifting left/right. This is the optimal distance for the Kingfisher as all of its turrets can fire at this range, and it is the furthest distance from the target making dodging easier.
These things have POI Bastion Shields, so it takes a while for even the plasma turrets of the Kingfisher to take it down. But once it's down, taking out the generators is quite fast and easy. From there, you'll probably be better off boarding it and manually destroying the core.
If your shield dips to 15% or less, back out using a corkscrew maneuver until it stops firing at you and regenerate your shields. To do a corkscrew, hold back + a roll and strafe. Virtually every shot from this enemy will miss if you do this.
Tovera-Class Dreadnought:
Highlights
From source dataFootprint
Rated a light load on a server.
Last update
Its author last shipped an update 5 yr ago.
(Reforged Eden) Kingfisher Z3 on Nxeon
From our catalogue- One-click install
- Supported on Nxeon Empyrion: Galactic Survival servers. We download it from Steam Workshop, place it, and restart the server.
- Server load
- light
- Smallest plan we suggest
- Empyrion — 8 GB (8 GB RAM). This follows our own load rating above, not a benchmark.
- Latest build
- 2021-08-09, released 2021-08-09
Game versions by loader
| Loader | Game versions | Newest |
|---|---|---|
| Workshop |
From 1 recorded build of (Reforged Eden) Kingfisher Z3.
Run (Reforged Eden) Kingfisher Z3 on a Empyrion: Galactic Survival server
Pick a server or deploy a new one above; it is installed in one click.
What kind of mod it is
From the catalogCreatures & NPCs
Adds or changes creatures, NPCs and how they behave.
Compatibility
- Game
- Empyrion: Galactic Survival
Verified at the source
- ✓Steam WorkshopOfficial listing, checked 2026-11-01Open ↗
- ✓AuthorEllyri0n, as published on Steam Workshop
- ✓LicenseNot published by the sourceFree