




About Easy Advanced Furnace (All Metals)
From Steam WorkshopThis is an IC Program for running the Advanced Furnace. It is super simple to use and setup. For even easier use, I suggest my Advanced Furnace Display. This is the screen that displays which ore you…
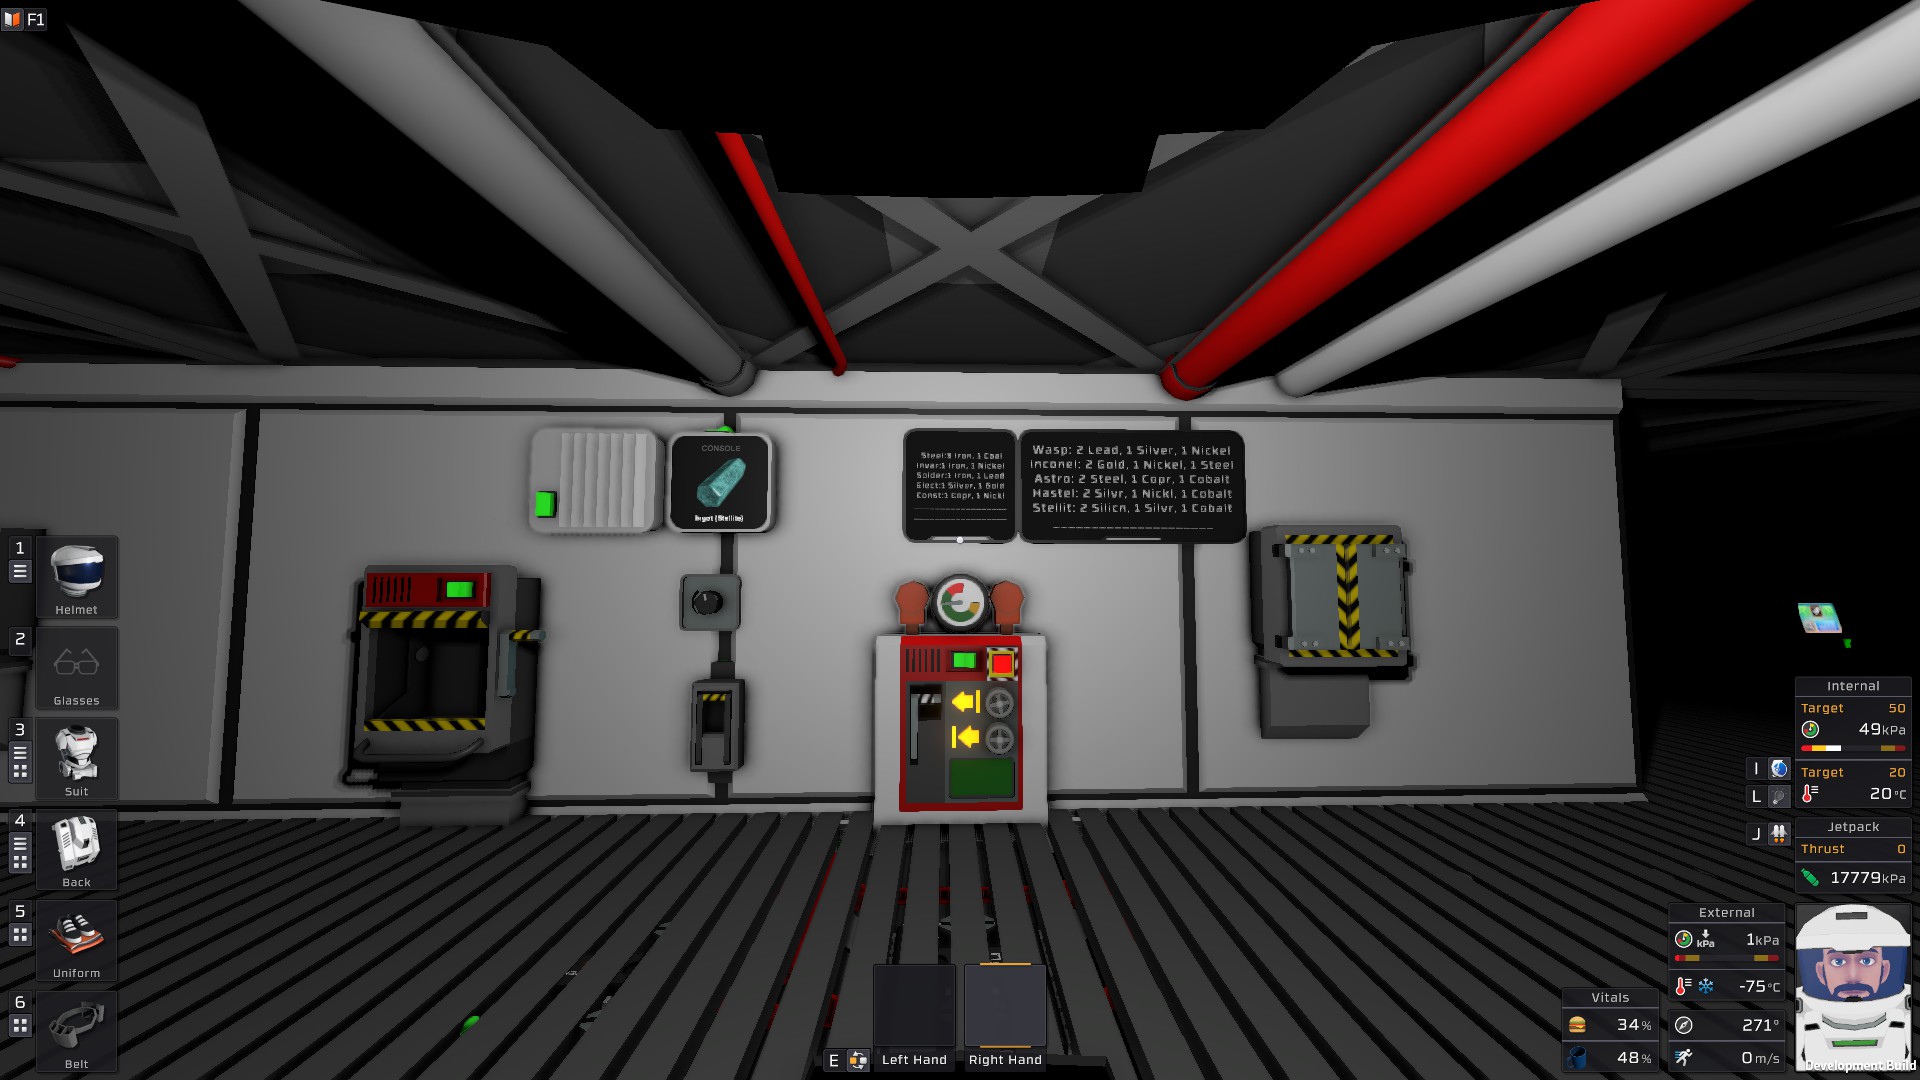
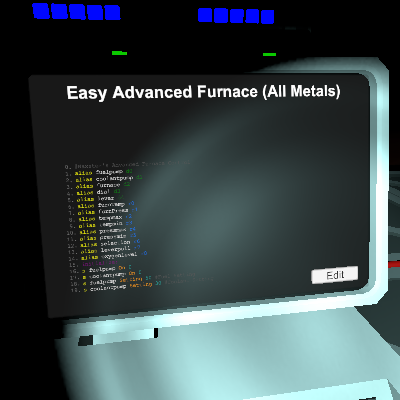
This is an IC Program for running the Advanced Furnace. It is super simple to use and setup. For even easier use, I suggest my Advanced Furnace Display. This is the screen that displays which ore you have selected, as seen in the pictures and video above. You can find it here: https://steamcommunity.com/workshop/filedetails/?id=2714185920
You can try my Demo World Save that has the furnace already set up and running here: https://steamcommunity.com/sharedfiles/filedetails/?id=2715225698
If you find this useful, give it a thumbs up so others can find it easier.
Required Items: (1) Advanced Furnace (1) Kit (IC Housing) (1) Integrated Circuit (IC10) (2) Kit (Logic Switch) (2) Volume Pump Mulitple chutes, pipes, cables, frames. 500kpa Fuel Supply* Coolant Supply** Labeller Tool
* Fuel Supply should be 2:1 Volatiles/Oxygen mix, at 500kpa. You can use a pressure regulator to drop the pressure down if you need to. Other pressures might work, but for safety reasons I keep my fuel lines at 500kpa. If you use a different pressure, you might need to adjust the fuel setpoint on line #18 ** Coolant should be either CO2, Nitrogen, or Pollutant. Any pressure should work. I use CO2 (since it is abundant on Mars) and keep it at 20c.
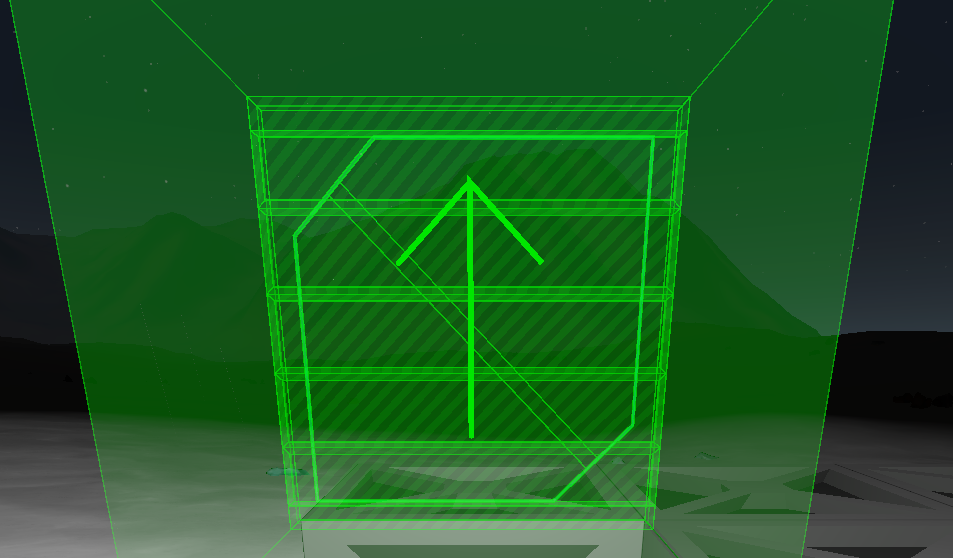
Installation 1. Place the Advanced Furnace so that the entire furnace is inside of a frame (iron or steel) and only the front the furnace sticks out. See photo above. 2. Place a pipe in the shape of a T on the Input of the furnace, see photos above. 3. Place the volume pumps on the Tee fitting, so that both feed into the furnace. It is very important that each pump be only 1 pipe fitting away from the furnace. Again, see photos above. 4. Label each pump "Fuel Pump" and "Coolant Pump" respectively. 5. Pipe fuel and coolant to each pump. 6. Attach piping to Output of furnace, run this piping outside to a passive vent. Or you can capture and re-use the gasses coming out of the furnace, but keep in mind they will be very hot, and you should probably cool them down before re-using them. 7. Attach chutes to the furnace so that you can add ore and retrieve ingots from the furnace, remeber it will be built inside a frame, so there will be no direct access to the furnace. See photos/video above, or check out my Demo World Save linked above for ideas. 8. Attach wiring to the pumps and run that wiring out of the frame that is going to enclose them. Attach this wiring to the the Power AND Data ports on the furnace. 9. Weld up the frame that is encasing the furnace so it is entirely encased. You don't want the furnace loosing heat to the surrounding atmosphere, encasing it in a frame prevents this. 10. Place 1 Logic switch as a Lever, and the other as a Dial. Use a screwdriver to set the MAX setting for the dial to 17. Wire them into the circuit with the furnace. 11. Place the IC Housing and wire it into the same circuit. 12. Load this program onto the IC10 Chip, place it in the housing, and turn the housing on for a couple seconds, then back off. 13. Use a screwdriver to set the I/O dials on the IC Housing. They will be labeled with what they should be set to during step 12. 14. Turn the IC Housing back on, and enjoy!
Instructions for use: 1. Leave the LEVER in the UP (not pulled) position. 2. Set the DIAL to the desired ingots. (you can use the table below, or my Advanced Furnace Display linked above) This will put the furnace into "Process" mode, where it will keep the temp up high enough to process the ore. 3. Load ore into the furnace. 4. Check the small green "contents" display on the furnace. Wait until it's done processing before moving to step 5. 5. Once all the ores are processed, pull the LEVER. The furnace will now adjust it's temps and pressures to achive the desired ingots. 6. Once the Temp/Pressure is right, the furnace will AUTOMATICALLY open the chute to release the ingots. Note that some of the more advanced alloys can take a minute or two to get to the right temp/press. Watch the gauge on the furnace, if you see it changing, it's still working. If you don't see changes, you're probably out of Fuel or Coolant. 7. Once all of the ingots are out, return the LEVER to the UP position. 8a. If you want to make more ingots, start back at step 1. 8b. If you are done making ingots, proceed to step 9. 9. Set the Dial to 0, this will make sure the furnace is in a safe state, and then shut everything down so no extra gasses are used. 10. *Optional* If you want to evacuate/clear the furnace, pull the lever while the dial is set to 0. This will drain all the gasses out of the furnace, and open the chute.
Dial Settings: (If you are not using my Advanced Furnace Display) 1: Silicon 2: Iron 3: Gold 4: Copper 5: Silver 6: Lead 7: Nickel 8: Steel 9: Constantan 10: Astroloy 11: Inconel 12: Electrum 13: Stellite 14: Solder 15: Waspaloy 16: Invar 17: Hastelloy
Highlights
From source dataFootprint
A 155 KB download, rated a light load on a server.
Last update
Its author last shipped an update 4 yr ago.
Easy Advanced Furnace (All Metals) on Nxeon
From our catalogue- One-click install
- Not available. One-click install isn't available for this game's mods yet. Download it and upload it to your server in Files.
- Server load
- light
- Smallest plan we suggest
- Stationeers — 4 GB (4 GB RAM). This follows our own load rating above, not a benchmark.
- Latest build
- 2022-09-22, released 2022-09-22, 155 KB
Game versions by loader
| Loader | Game versions | Newest |
|---|---|---|
| Workshop |
From 1 recorded build of Easy Advanced Furnace (All Metals).
Dependencies
- Required: Advanced Furnace Display
Declared by the newest build that lists any. Required ones are installed with it on one-click installs.
Run Easy Advanced Furnace (All Metals) on a Stationeers server
Deploy a server above, then upload the file in Files.
What kind of mod it is
From the catalogTechnology & automation
Machines, power, logistics and automation.
Compatibility
- Game
- Stationeers
- File size
- 155 KB
Verified at the source
- ✓Steam WorkshopOfficial listing, checked 2026-10-10Open ↗
- ✓AuthorNaxster, as published on Steam Workshop
- ✓LicenseNot published by the sourceFree