
Moving to a new host or bigger plan? Here's how to migrate a Minecraft world safely, keeping player data, configs, and plugins intact.
Outgrowing your current host, or moving from a home PC to a VPS? Migrating a Minecraft world is straightforward if you copy the right files and match versions. This guide covers a clean, no-data-loss move.
What actually needs to move
A Minecraft world is just files. To recreate the server exactly, copy:
- World folders:
world,world_nether,world_the_end. - Player and access data:
playerdata/(inside world),ops.json,whitelist.json,banned-players.json. - Config:
server.properties. - Plugins or mods: the entire
plugins/ormods/folder, plus their config subfolders.
Copy all of it and the new server behaves identically.
Match the version and software
The new server must run the same Minecraft version and same server software (Paper to Paper, Forge to Forge at the same build). A version mismatch can corrupt or refuse the world. If you also want to upgrade the version, migrate first, confirm it works, *then* follow the version-update guide as a separate step.
Step 1: back up the source
Never migrate without a safety copy. On the old server, take a full backup first:
save-off
save-all
tar -czf mc-migrate.tar.gz world world_nether world_the_end plugins server.properties ops.json whitelist.jsonThen save-on in the console.
Step 2: transfer to the new server
Move the archive over the network. From the new server, pull it with scp (or push with rsync):
# on the new server
scp user@old-host:/home/minecraft/mc-migrate.tar.gz .
tar -xzf mc-migrate.tar.gz -C ~/server
For large modded worlds, rsync resumes if the connection drops:
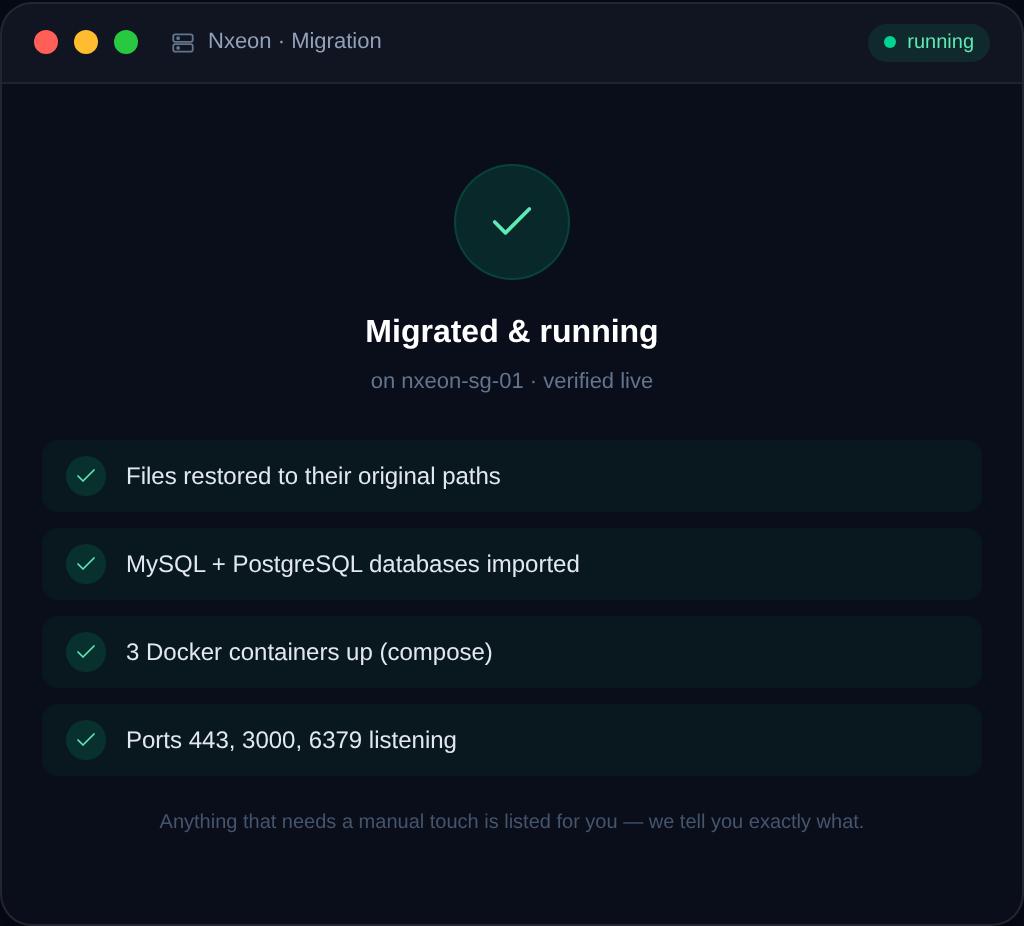
rsync -avz --progress user@old-host:/home/minecraft/server/ ~/server/Nxeon offers free migration help if you'd rather have a hand moving a world across.
Step 3: install the same server on the new box
Set up the matching server software and Java on the new host — see the vanilla, Forge, or Fabric guide as appropriate. Drop the migrated files in, accept the EULA, and start:
echo "eula=true" > eula.txt
java -Xmx4G -Xms4G -jar server.jar nogui
sudo ufw allow 25565/tcp
Step 4: cutover
Test-join the new server yourself. Once it's confirmed working, point players at the new IP — or better, keep the same address by using a custom domain so players never notice the move. Keep the old server offline but intact for a few days as a fallback.
Minimise downtime with a two-pass rsync
For a large world, copying everything during the outage means a long downtime. A better pattern is two passes: sync most of the data while the old server is still running, then stop it and sync only what changed.
# pass 1 — old server still up (safe: rsync copies a consistent-enough snapshot)
rsync -avz user@old-host:/home/minecraft/server/ ~/server/
# stop the old server, then pass 2 — only the deltas, so it's quick
rsync -avz user@old-host:/home/minecraft/server/ ~/server/
The second pass transfers only files that changed, cutting the actual downtime to minutes even for a big modded world.
Fix ownership and permissions
After transferring files as one user, they may end up owned by the wrong account on the new box, which can stop the server writing to the world. Set ownership and sensible permissions:
sudo chown -R minecraft:minecraft ~/server
chmod +x ~/server/*.sh
If the server logs "cannot save" or "access denied" errors, ownership is the usual cause.
Migration checklist
Run through this to be sure nothing's left behind:
- World folders (
world,world_nether,world_the_end) copied. ops.json,whitelist.json,banned-*.jsoncopied so access carries over.plugins/ormods/and their config subfolders copied.- Same Minecraft version and server software installed — verify before first boot.
eula=trueset, port opened, ownership fixed.- Test-joined yourself before pointing players over.
Keep the old server offline but intact for a few days as a fallback, and keep the pre-move backup until you're confident. Pointing a domain at the new IP means players never even notice the move.
Moving from a home PC to a VPS
A very common migration is off a home computer onto a proper server — usually because people are tired of the PC needing to stay on, or they've hit CGNAT (covered in port forwarding vs a VPS). The steps are identical to any migration: back up, copy the world and configs, install the same server software and Java on the VPS, and start. The only extra consideration is that a home server folder might be on Windows, so double-check line endings on any .sh scripts (dos2unix start.sh fixes them) and that file paths in configs are updated. Once it's running on the VPS you get an always-on server with a real public IP — no more port forwarding, no more leaving your PC on overnight. Point a domain at the new IP and your players keep the same address forever.
FAQ
Will I lose player inventories when migrating?
No, if you copy the world's playerdata folder (and ops.json/whitelist.json). Inventories, positions, and stats live there.
Can I migrate to a different Minecraft version at the same time?
Better not to. Migrate on the same version first, confirm it works, then update as a separate, backed-up step.
How do I transfer the files between servers?
Use scp for a one-shot copy or rsync for large worlds (it resumes on interruption). Archive with tar first to keep permissions tidy.
How do I keep the same address after moving?
Point a domain (an A record, or an SRV record for a custom port) at the new IP. Players use the domain and never see the new IP.
Migrating up to a faster box shouldn't be a hassle. Nxeon offers free migration help and NVMe Minecraft server hosting to move your world onto quicker hardware.
Game server hosting
Deploy in seconds, not weekends
Nxeon · Nxeon editorial
★★★★★ Straight-talking guides from the team that runs the servers.