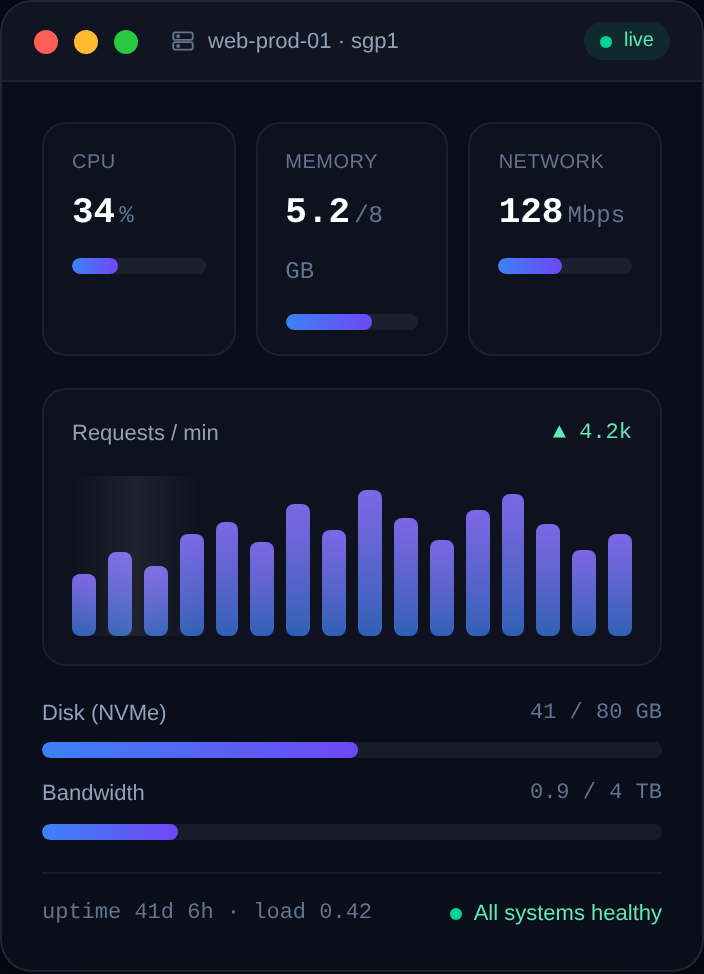
Moving WordPress to a new VPS without downtime is straightforward if you do it in the right order. This guide walks the manual method and the low-risk cutover.
Migrating WordPress to a new VPS sounds risky, but done in the right order it's routine and downtime-free. The trick is to build and test everything on the new server *before* pointing your domain at it. This guide walks the manual method and a safe cutover.
The plan: build, test, then switch
The whole strategy is to keep the old site live while you set up the new one, verify it works, then flip DNS. Because DNS changes take time to propagate, you avoid any window where the site is down. Here's the order:
Step 1: Prepare the new VPS
Set up a fresh LEMP stack on the new server so it's ready to receive the site — see how to install WordPress on a VPS (LEMP stack) for the base install (you don't need to run the WordPress installer; just have Nginx, PHP and MariaDB ready). Secure it first with the first 10 minutes on a new VPS.
Step 2: Export the database and files on the old server
Dump the database:
mysqldump -u root -p wordpress > wordpress.sqlArchive the WordPress files:
cd /var/www && tar czf site-files.tar.gz yoursiteStep 3: Transfer to the new VPS
Copy both to the new server with scp or rsync:
scp wordpress.sql site-files.tar.gz user@NEW_SERVER_IP:/tmp/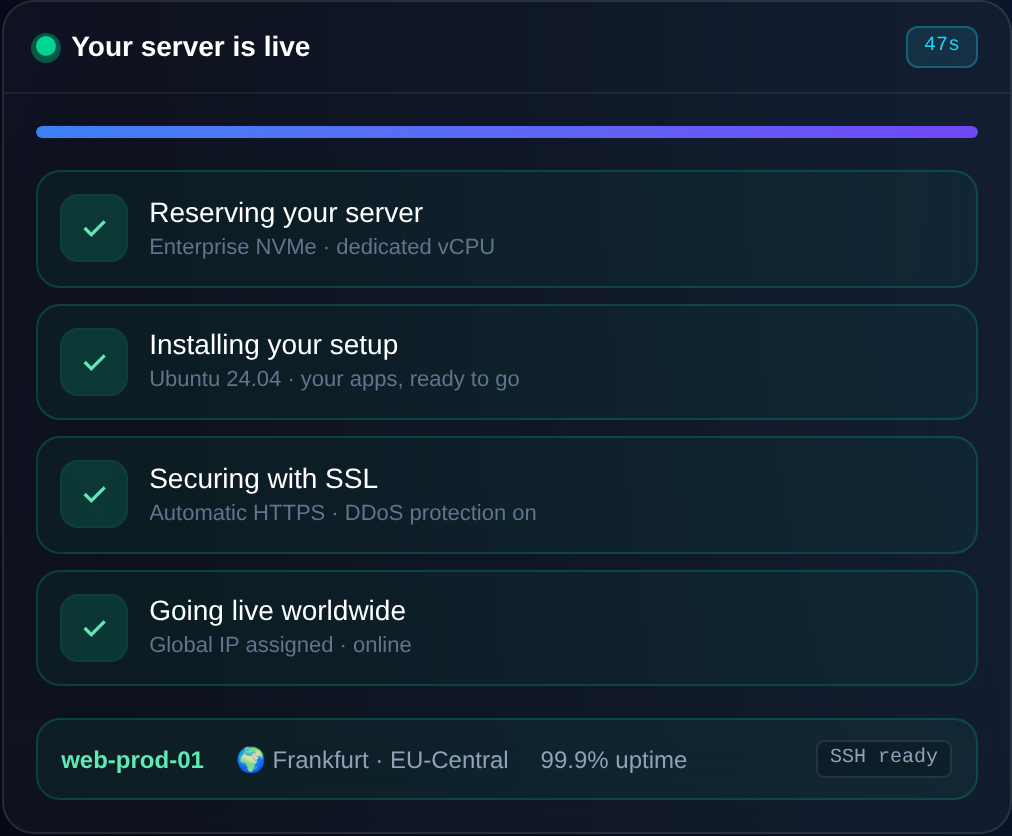
Step 4: Import on the new server
Extract the files into the web root and import the database:
sudo tar xzf /tmp/site-files.tar.gz -C /var/www/
sudo chown -R www-data:www-data /var/www/yoursite
mysql -u root -p wordpress < /tmp/wordpress.sql
Recreate the database and user (matching wp-config.php), then point your Nginx server block at the site.
Step 5: Test before you switch DNS
This is the step that prevents downtime. Test the new site *before* changing DNS by editing your local machine's hosts file to map your domain to the new server's IP. Browse the site, check pages, images and the admin area. Only when it's perfect do you proceed.
Step 6: Cut over DNS
Lower your DNS record's TTL a day ahead so the switch propagates fast, then update the A record to the new IP. See how to point a domain to your VPS and DNS propagation explained. Keep the old server running until propagation completes and traffic has fully moved. Finally, re-run Certbot on the new server for HTTPS.
The easy alternative
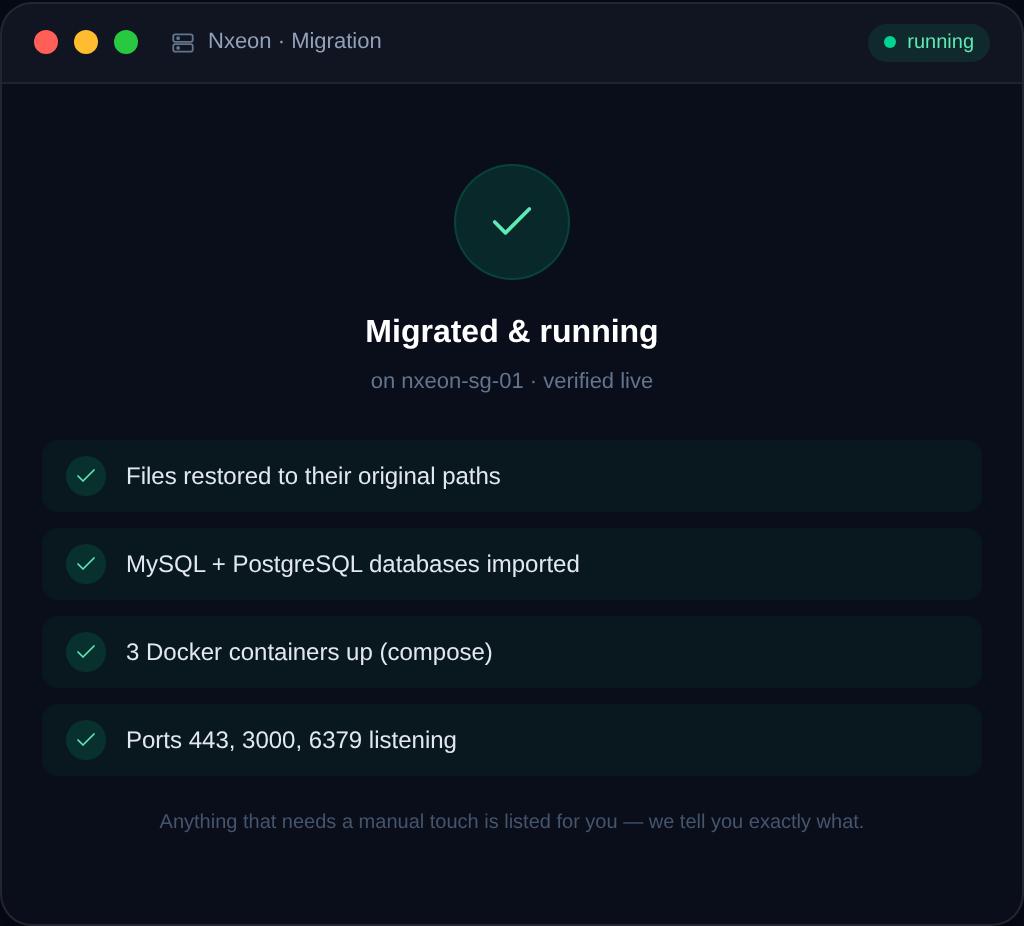
This manual process is reliable but fiddly. Migration plugins automate much of it, and many hosts offer free migration help that does the whole move for you. If you'd rather not touch the command line, see how to migrate your website to Nxeon (free migration).
Fix the things that break after a move
Most migration headaches show up in a handful of predictable places. Knowing them ahead of time turns a stressful debug session into a quick checklist:
- Wrong site URL. If the site loads oddly or redirects in loops, the
siteurlandhomevalues in the database may still point at the old server. Update them in Settings, or via WP-CLI, once DNS points to the new box. - Broken file permissions. After extracting files, set ownership to the web server user and correct permissions, or uploads and updates will fail:
sudo chown -R www-data:www-data /var/www/yoursite- Missing PHP extensions. If pages error out, the new server may be missing an extension the site relies on (e.g.
php-gd,php-imagick,php-mbstring). Install the ones your plugins need. - Database credentials mismatch.
wp-config.phpmust match the database name, user and password you created on the new server. - No SSL yet. Re-run Certbot on the new box once DNS resolves so HTTPS works and mixed-content warnings disappear.
Work through those and the migrated site behaves exactly like the original.
Verify, then decommission the old server
The final phase is about confidence. Don't tear down the old server the moment DNS changes — give the switch time to fully complete and verify everything works on the new box first:
- Confirm DNS has fully propagated so all visitors are hitting the new server, not a cached old record — DNS propagation explained covers timing.
- Test thoroughly: pages, forms, media, checkout (if a store), admin login, and email if the site sends it.
- Check your logs on the new server for errors under real traffic.
- Keep the old server running for a few days as a safety net, then decommission it once you're certain.
This measured cutover is what makes a migration downtime-free and low-stress. If you'd rather not run it yourself, a host's free migration service handles the whole sequence for you.
Where Nxeon fits
Nxeon provides NVMe KVM VPS ready for WordPress plus free migration help to move your site across without downtime — the team handles the heavy lifting. See WordPress VPS hosting or compare plans on pricing.
FAQ
How do I migrate WordPress without downtime?
Build and fully test the site on the new VPS before changing DNS — verify it via your local hosts file. Lower the DNS TTL ahead of time, then switch the A record. Because you test first, there's no downtime window.
Should I use a plugin or migrate manually?
Plugins are easier and fine for most sites; manual migration gives full control and handles large or complex sites well. Either works — or use a host's free migration service to avoid the effort entirely.
Will my site go down during migration?
It shouldn't if you keep the old server running until DNS fully propagates to the new one. Lower the TTL beforehand so the switch is quick, and only decommission the old box once traffic has moved.
Do I need to reinstall SSL after migrating?
Yes — obtain a fresh certificate on the new server with Certbot once DNS points to it. Certificates are tied to the server, so re-running certbot --nginx gives the new box valid HTTPS.
Want it done for you? Get free migration help or see WordPress VPS hosting.
Web hosting
Deploy in seconds, not weekends
Nxeon · Nxeon editorial
★★★★★ Straight-talking guides from the team that runs the servers.